As wedding photography this season begins to slow down a bit for us and the holidays are right around the corner, I think it’ll a great idea to write a blog entry regarding “How to Chose the Perfect Engagement Ring” (using pictures from our very own brides and grooms!!). From what I’ve noticed, wedding proposals tend to occur during the Winter holidays (Thanksgiving, Christmas, New Years, Valentine’s Day, etc.) This also probably explains why we have lots of summer weddings (i.e. April to September) because 6 months to a year is (just about) the right amount of time to plan for your perfect wedding!! 
And speaking of perfect (Gentlemen… I’m talking to you), finding the perfect engagement ring for your perfect girl can sometimes be a bit challenging. And with this article (ladies… this is when you forward this article to your man), I’m hoping to help offer a brief synopsis/intro to what you need to know when picking out the perfect ring!! Please keep in mind that I am NOT a certified jeweler and everything I say/write is my personal recommendation based on internet research. Shall we get started on how to choose an engagement ring?
The classic engagement ring is comprised of two parts: the diamond and the setting. I recommend finding her the perfect certified diamond first, than devote the reminder of the budget to a beautiful (ring) setting. So now the question is: “How much should I spend?” The traditional two-month salary convention is a common starting point but I recommend going with what’s comfortable for you. Regardless of your budget, you should seriously consider the quality and value of the diamond. This brings us to getting to know the Four C’s of a diamond: Cut, Carat, Color, and Clarity.
A Photographer’s take on the Four C’s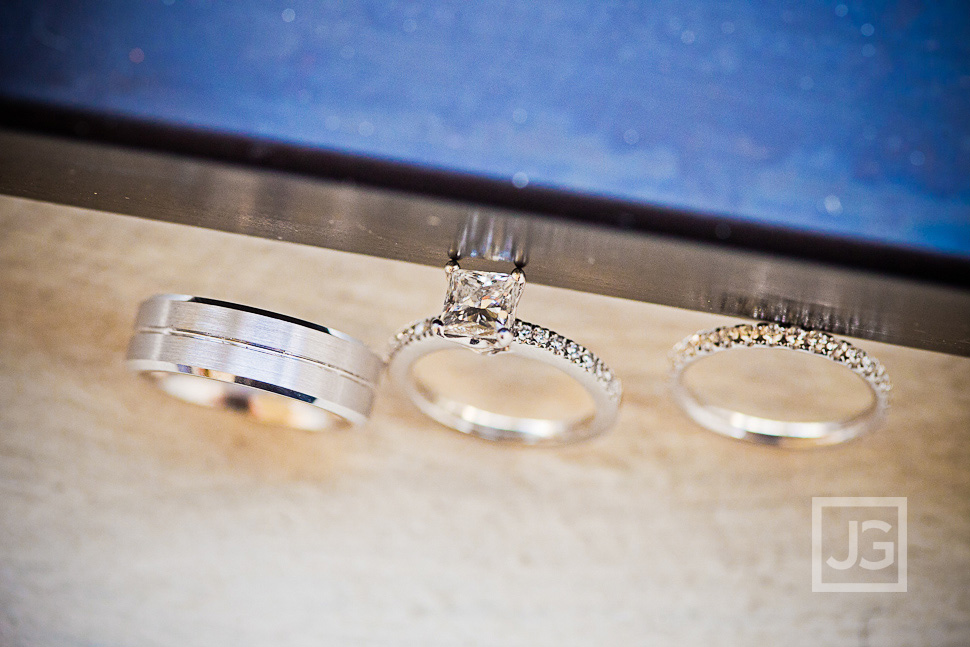
Cut
This refers to the diamond’s reflective quality (aka how it reflects light). Do not confuse this with the shape of the diamond. Cut is perhaps the most important of all the four C’s, so it’s essential to understand how a good cut gives a diamond it’s brilliance (brightness). In a “well cut” diamond, light enters and is dispersed evenly back through the diamond’s top facets. When a diamond is cut too shallow or too deep, light enters through and will “leak” out from the sides or bottom of the diamond. Here are the cut grades from best to worse: Ideal Cut –> Very Good Cut –> Good Cut –> Fair Cut –> Poor Cut. The cut of the diamond is also dependent on the shape of the diamond. A round brilliant is the most common since it reflects light best!! Other shapes include: Emerald, Princess, Oval, Cushion, Radiant, Marquise, etc.
As photographers, cut is the most important aspect to getting a good photograph of a diamond engagement ring. It reflects light back into the camera and we can see it right away when the cut is good, since it makes for amazing pictures. Personally, most of the compliments I get on my own engagement ring is how much light it reflects.
Carat
This is the weight of the diamond (aka size of the diamond). Larger diamonds are rare to find, so as carat weight increases so does the price. However, two diamonds can be of equal carat weight but can differ in price due to their cut, color, and clarity. To be honest, it is nearly impossible for the naked eye to detect the difference between a 0.96 carat versus a 1.00 carat diamond, though there is a drastic difference in pricing between the two!! So what’s the take home message… get a diamond that is just a little below the full and half carat weights. Also, keep in mind finger size. The smaller the finger, the larger the diamond will appear.
Photographically, we’ve noticed that large carat diamonds usually have a very large table (the flat top of the diamond), which makes them more difficult to photograph if the cut is not reflecting enough through it. Another factor in choosing carat size is how the diamond is going to be set (the setting of the ring). We chose a diamond solitaire setting, so carat and cut factor more heavily into that setting. Having a setting with small diamonds surrounding the main diamond can add to the apparent size.
Color
This refers to the absence of color in a white diamond. The best color for a diamond is no color at all because a colorless diamond allows more light to pass through easily. The Gemological Institute of America (GIA) rates the body color in a white diamond from D (absolutely colorless) to Z (noticeable color/light yellow). Keep in mind that while some people want the most colorless diamond (they can afford), others prefer the warmer glow of a slightly colored diamond. Here is a table showing the grade with it’s corresponding color
D, E, F —> Colorless
G, H, I, J —> Near Colorless
K, L, M, —> Faint Yellow
N, O,P, Q, R —> Very Light Yellow
S thru Z —> Light Yellow
Photographically, color is fairly inconsequential. Light comes in all colors (sunlight is blue, fluorescent lights are green, and incandescent lights are orange) and we have to “white balance” our images to eliminate the color cast. If a diamond is yellow, we “white balance” on the yellow and “poof!” the yellow is gone. Also note that it is hard to see a yellow diamond in low light, though it’s much easier in bright light or sunlight.
Clarity
This refers to the amount and locations of flaws or imperfections found in a diamond (when viewed under 10x magnification). The terms “inclusions” refers to the internal flaws of a diamond and can include air bubbles, cracks, etc. The term “blemish” refers to the surface flaws of the diamond and includes scratches, pits, and chips. Inclusions can interfere with light passing through, thus having fewer inclusions means a more beautiful diamond. Diamonds that are flawless are highly valued and are very rare. Clarity (of the four C’s) is the easiest to understand and is considered to have the least impact on a diamond’s appearance.
F —> flawless (no internal or external flaws)
VVS1 to VVS2 —> very very slightly included (very difficult to detect the inclusions under 10x mag.)
VS1 to VS 2 —> very slightly included (seen only with difficulty under 10 x mag.)
SI1 to SI2 —> slightly included (more easily detected under 10x mag.)
Clarity is important for reflecting more light, but you can probably fix that more with toothpaste! If you can’t see the inclusion, it really doesn’t exist. However, as photographers we sometimes get really up close and personal to the diamond using macro lenses (the same lenses for photographing flowers, bugs, and other small objects). But honestly, we encounter way more dust and oil (usually from lotion) than we do inclusions.
 So let’s wrap this up
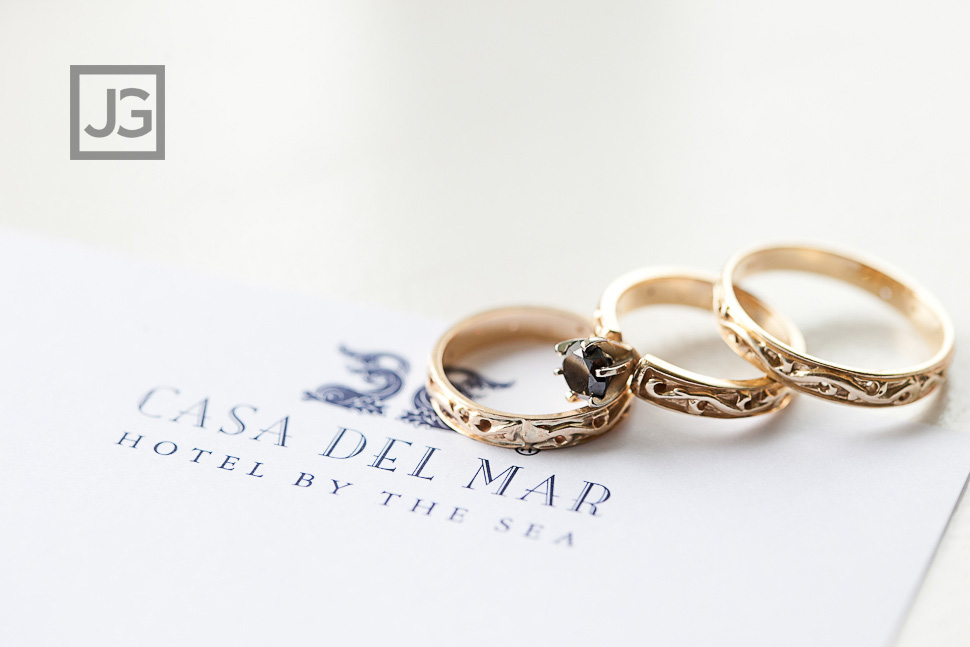
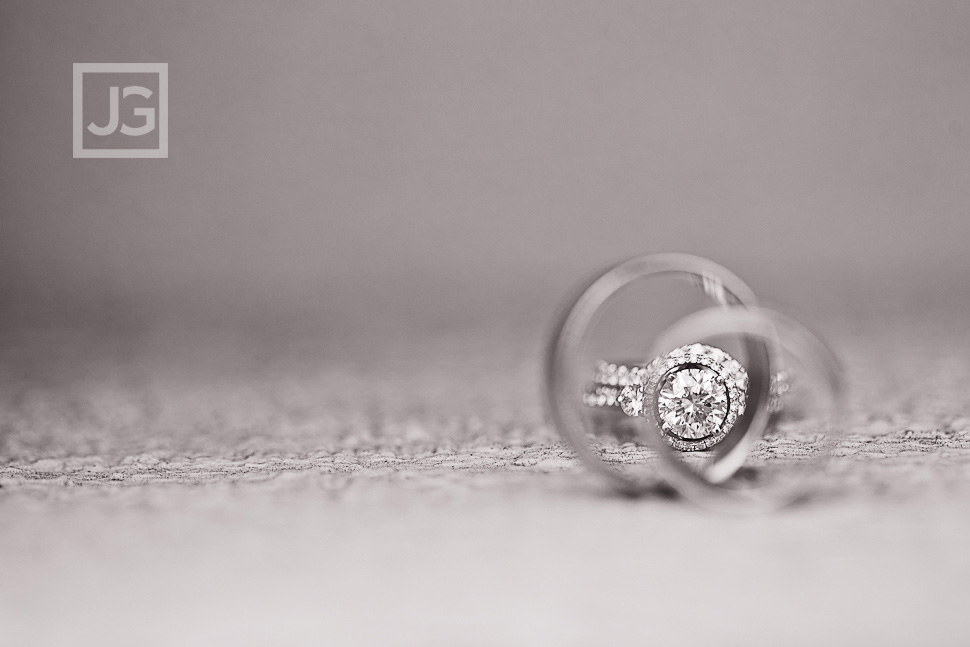
Out of the 4 C’s (though Gavin likes to joke the fifth C is cost!), cut is the one thing we can’t photoshop to make the photograph better. So we’d suggest that you develop your own set of priorities and from there you can determine which “C” is worth what to you. When we decided on our ring (we actually picked out the ring together), cut was way high on our list, with a moderate carat size (~1 carat), and color and clarity were behind those. This helped us decide on the ring that was right for us. We know some people where carat size is the most important aspect of the diamond. And if you’ve ever shopped in a Chinese/Vietnamese mall, you’ll notice that clarity is huge for that market (nothing less than a VVS2). We had one couple that took color to the other side of the spectrum and got a black diamond. When we look back, we don’t regret our decision in the least, because we had our priorities lined up with are comfortable price zone. This advice actually extends to how you choose anything for your wedding, including your wedding photographer! So to summarize: choose a budget, set your priorities, and live happily ever after!
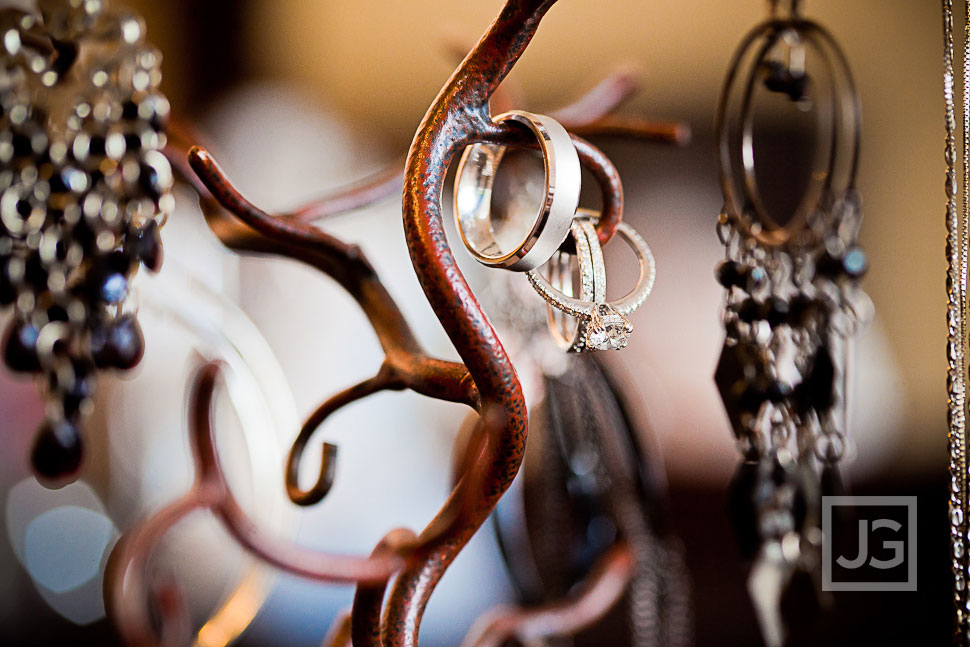
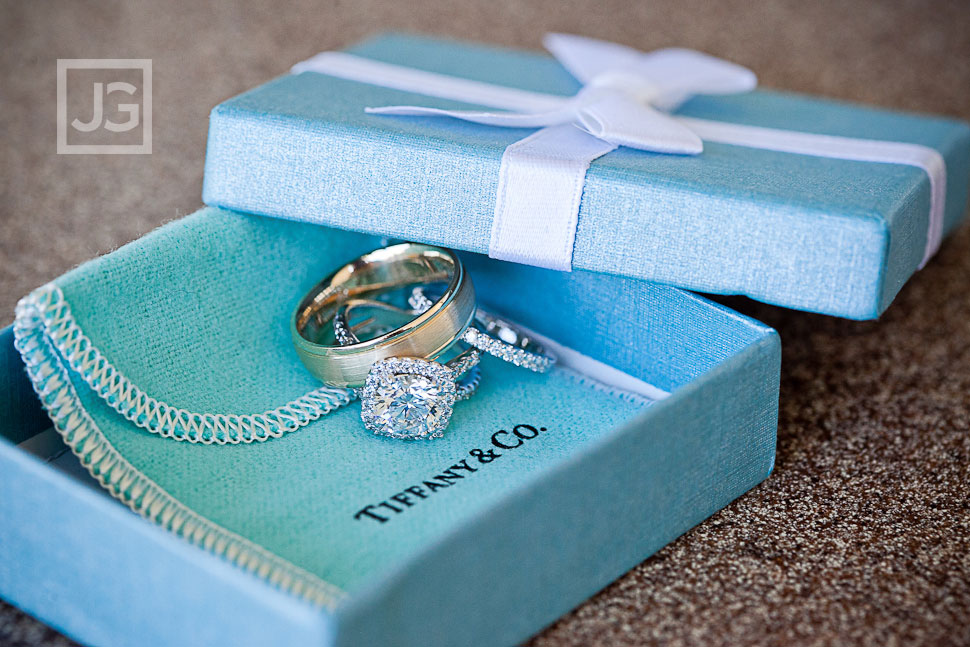
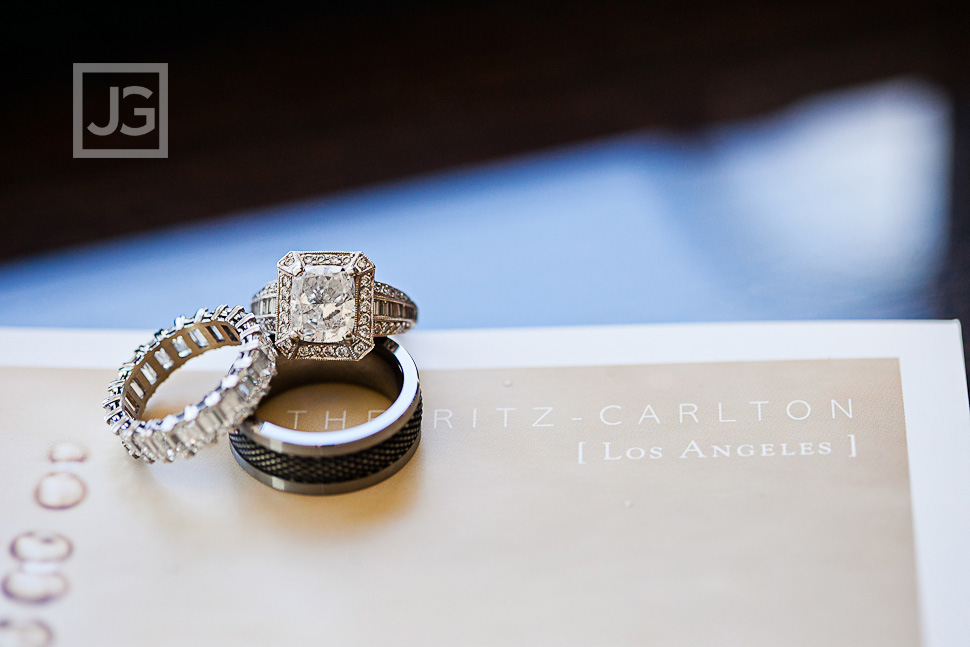
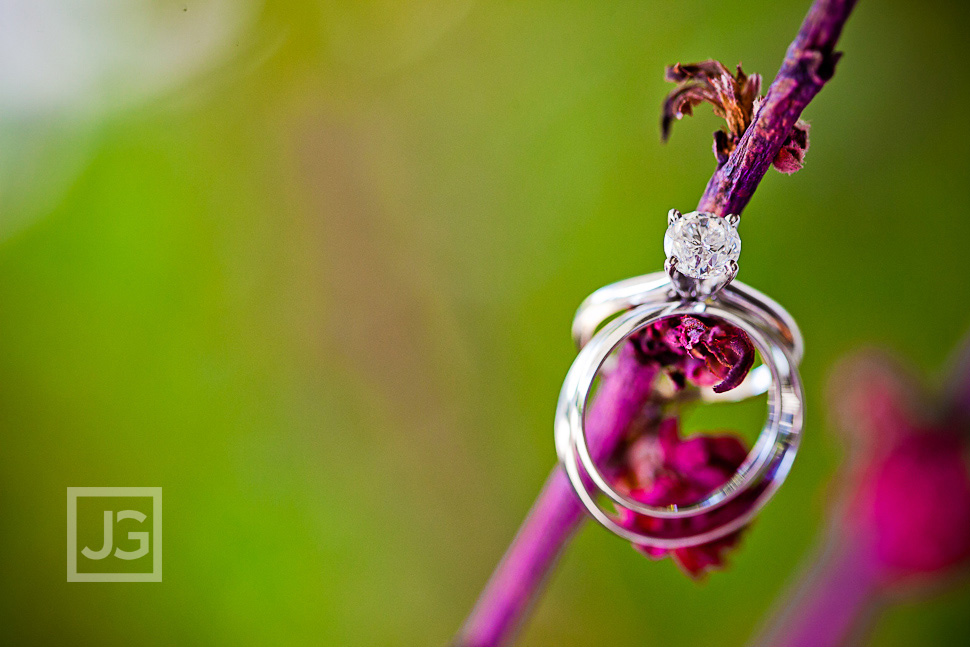
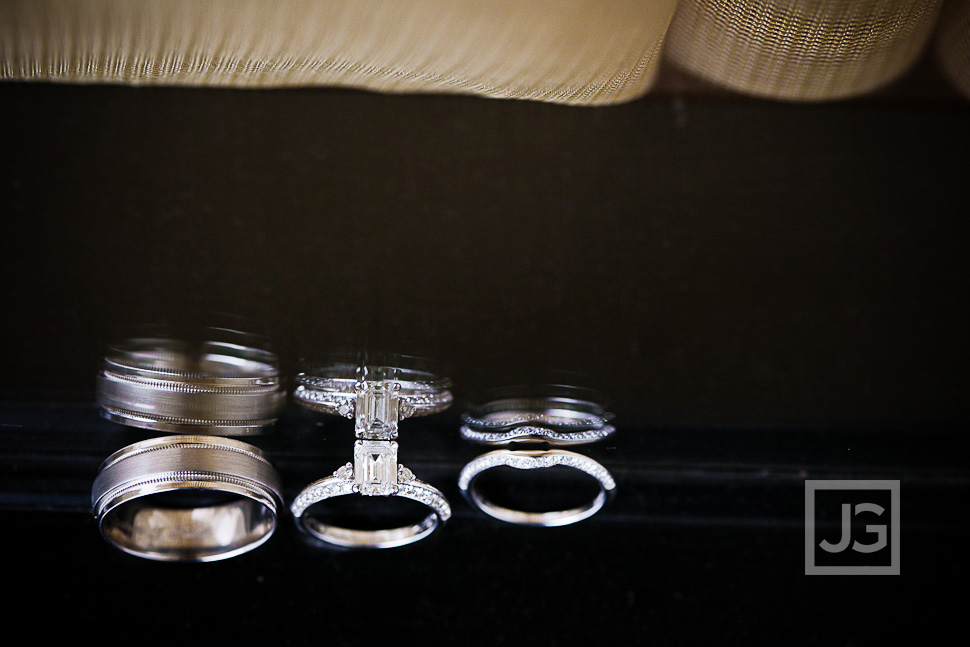
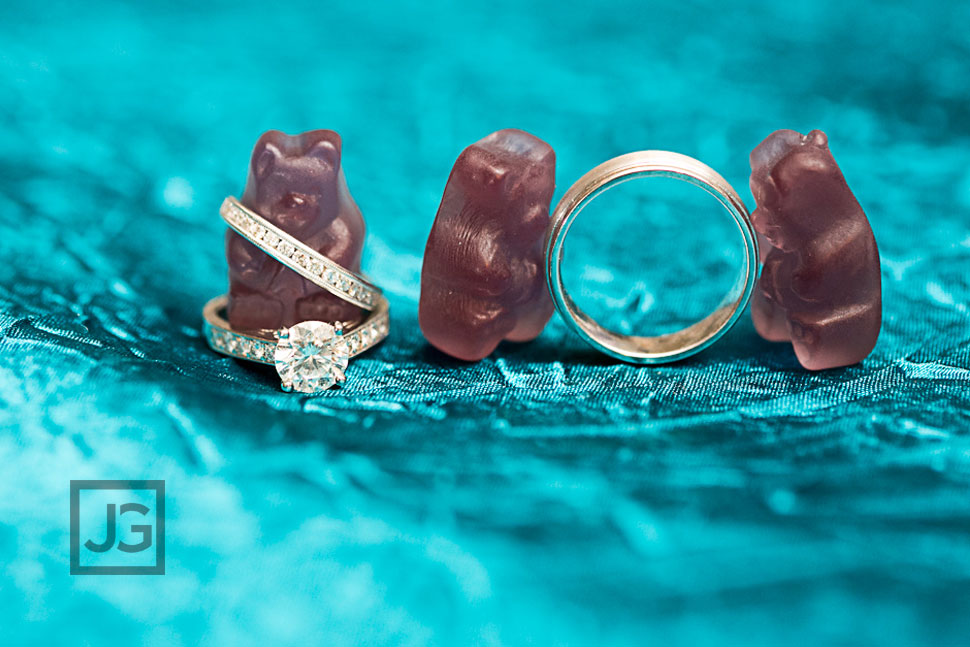
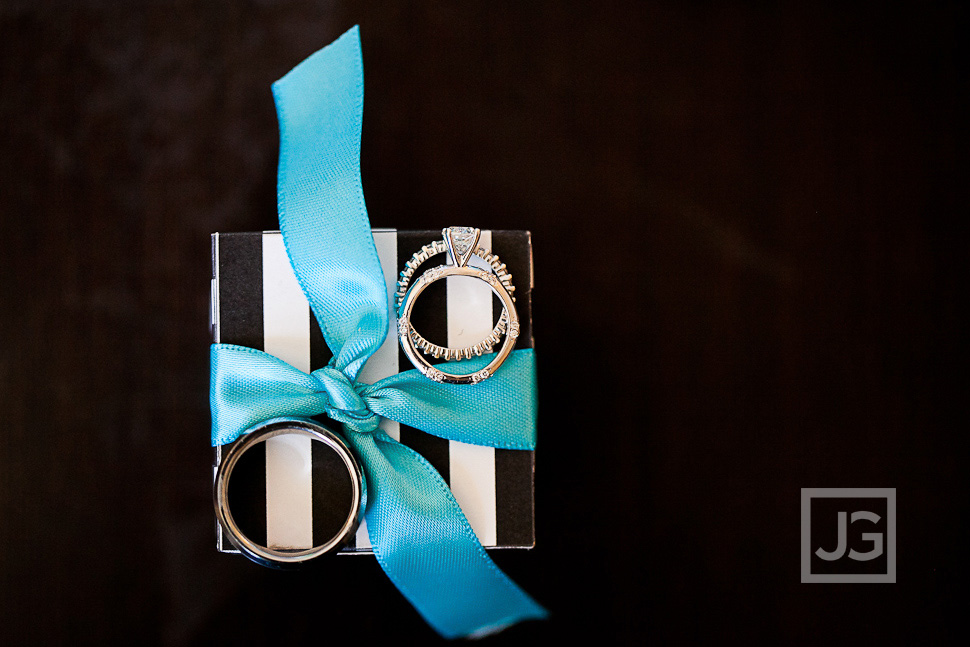
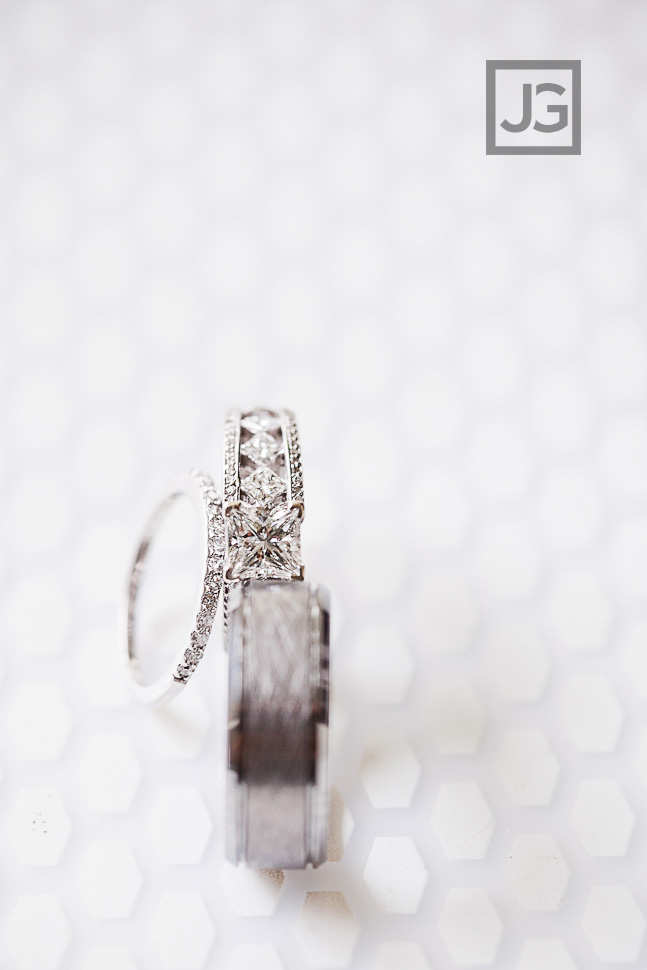
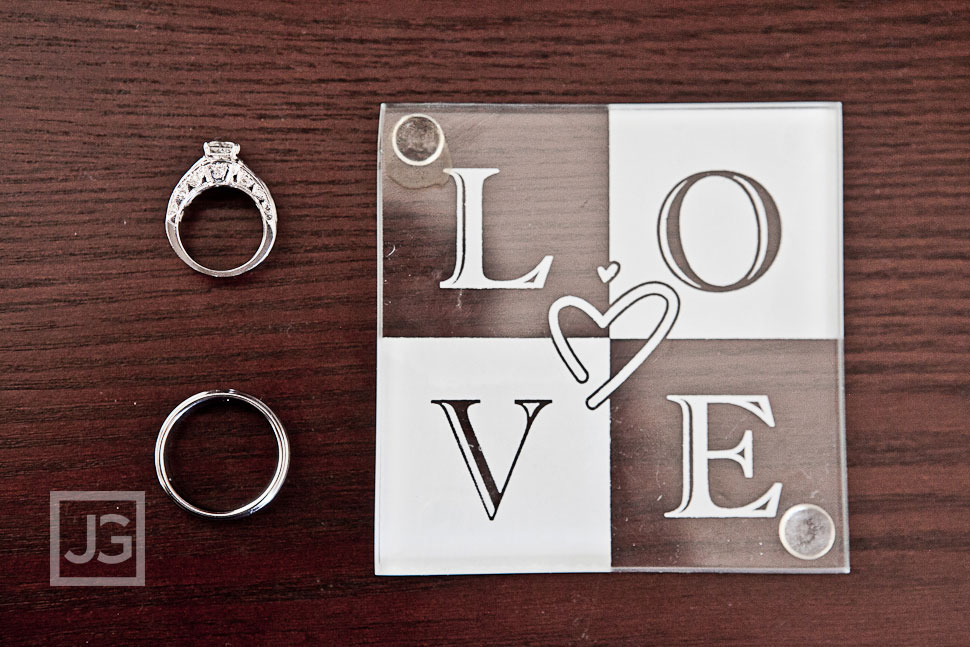
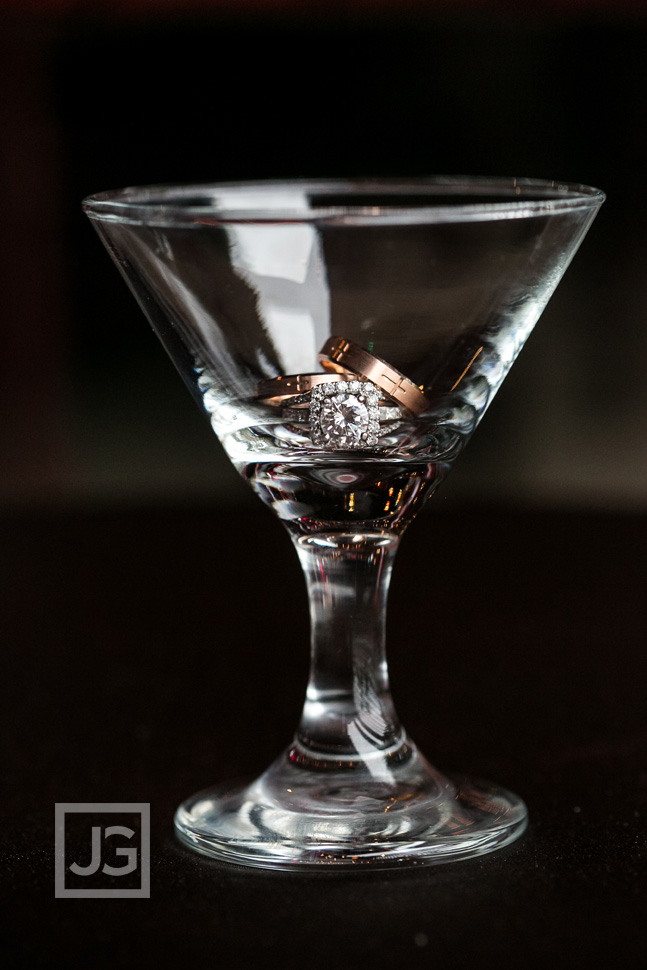
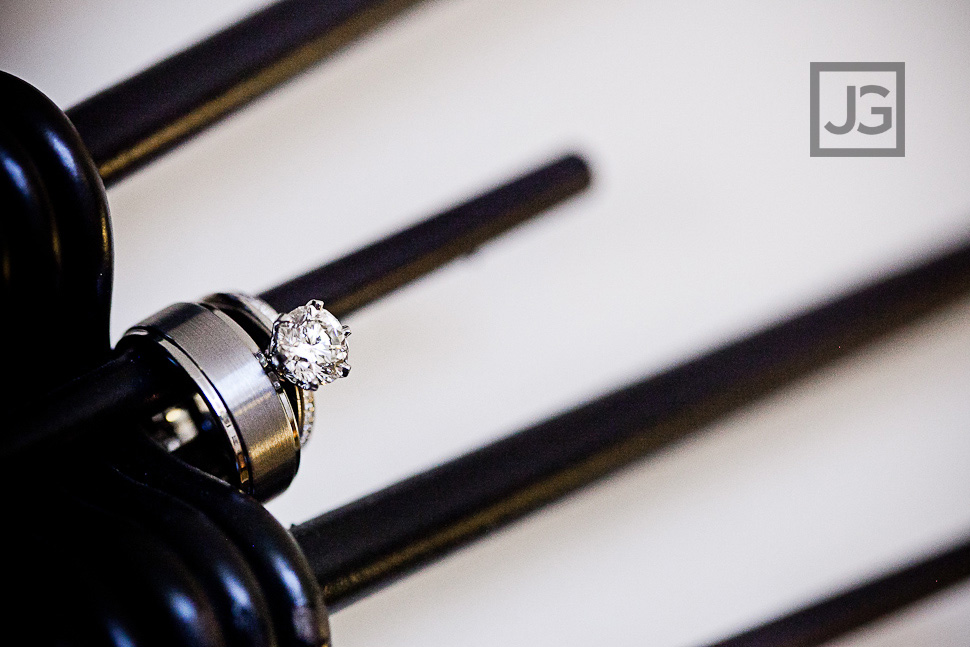
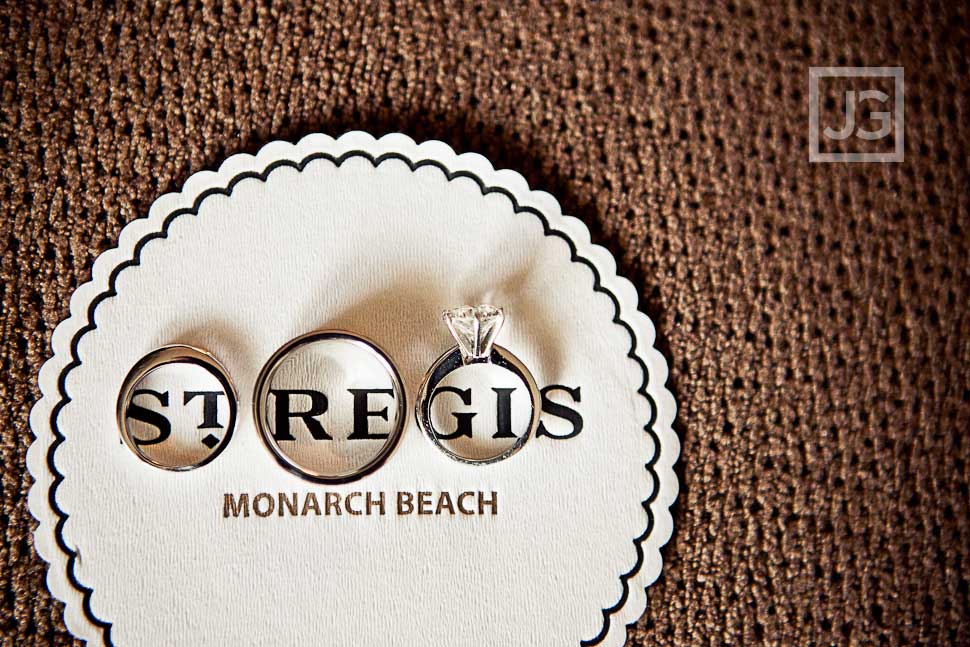
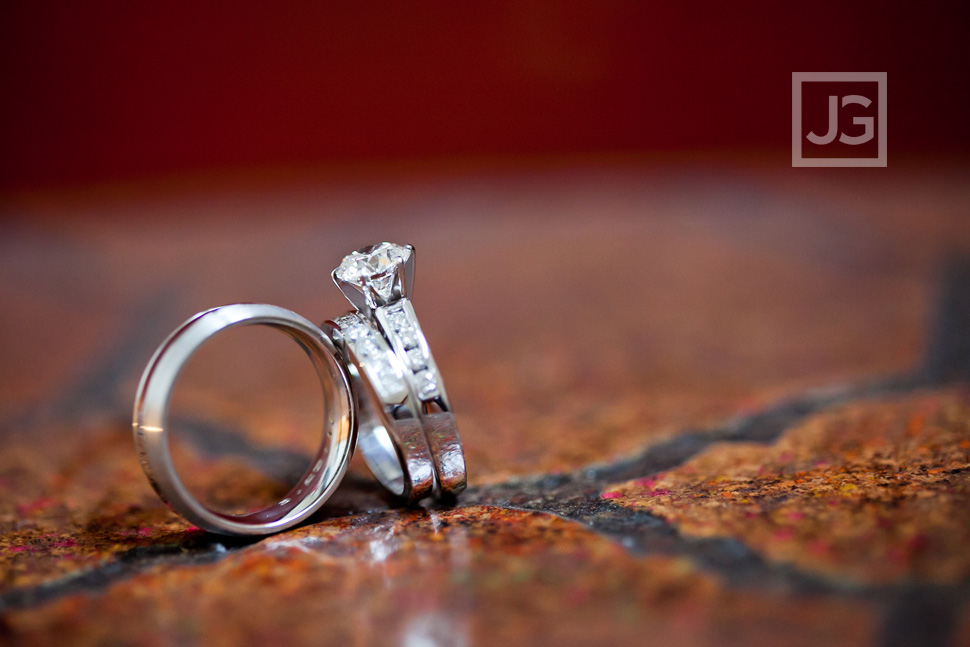
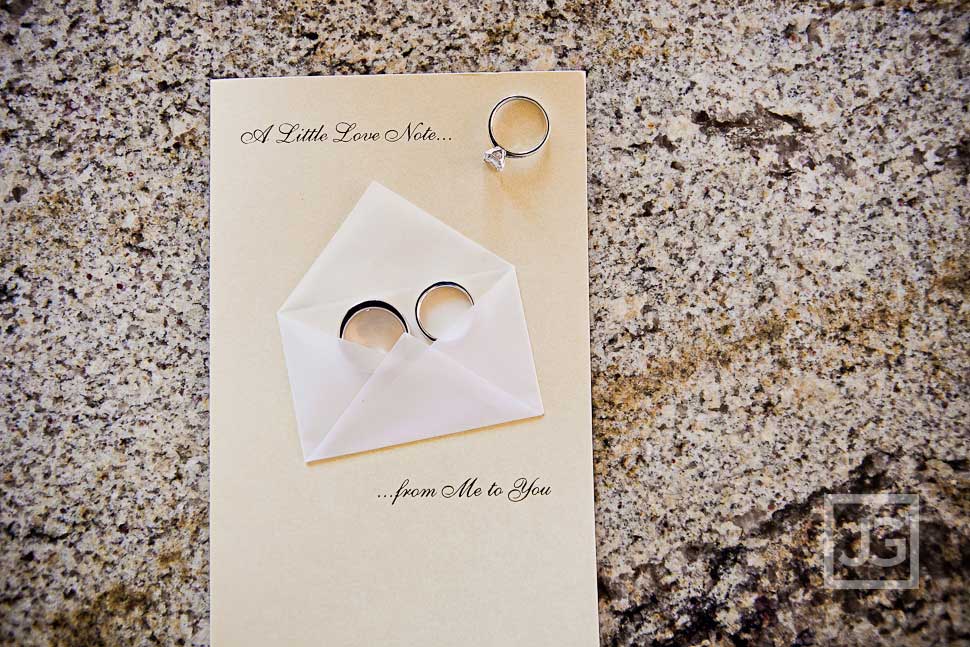
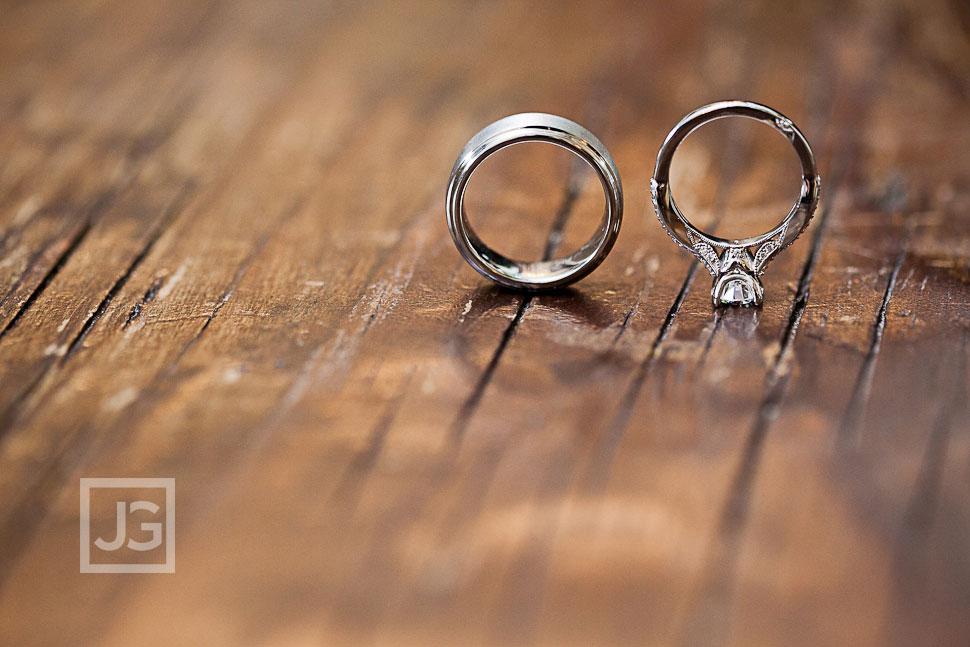
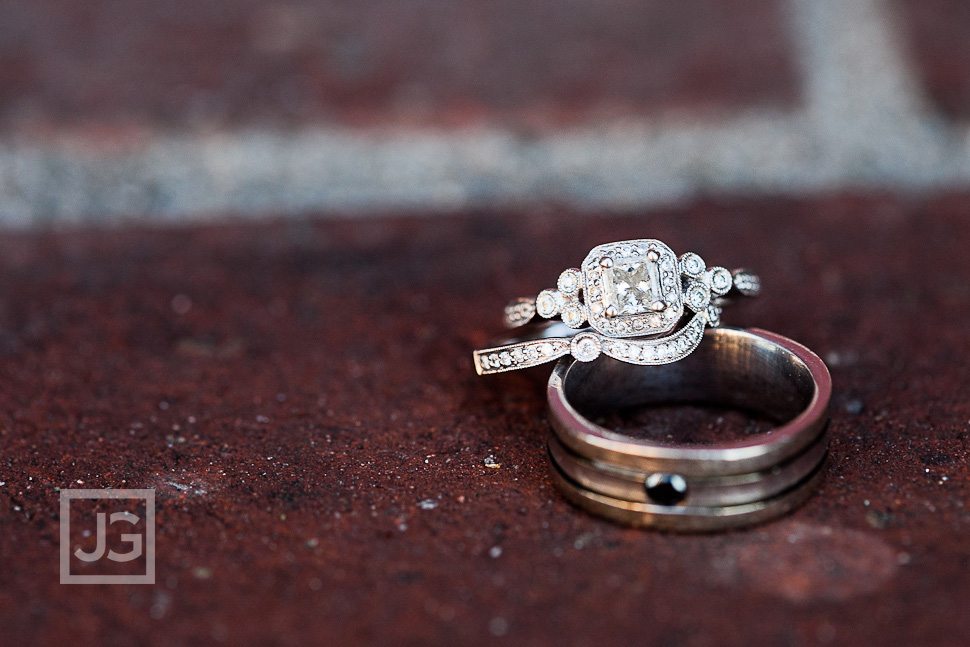
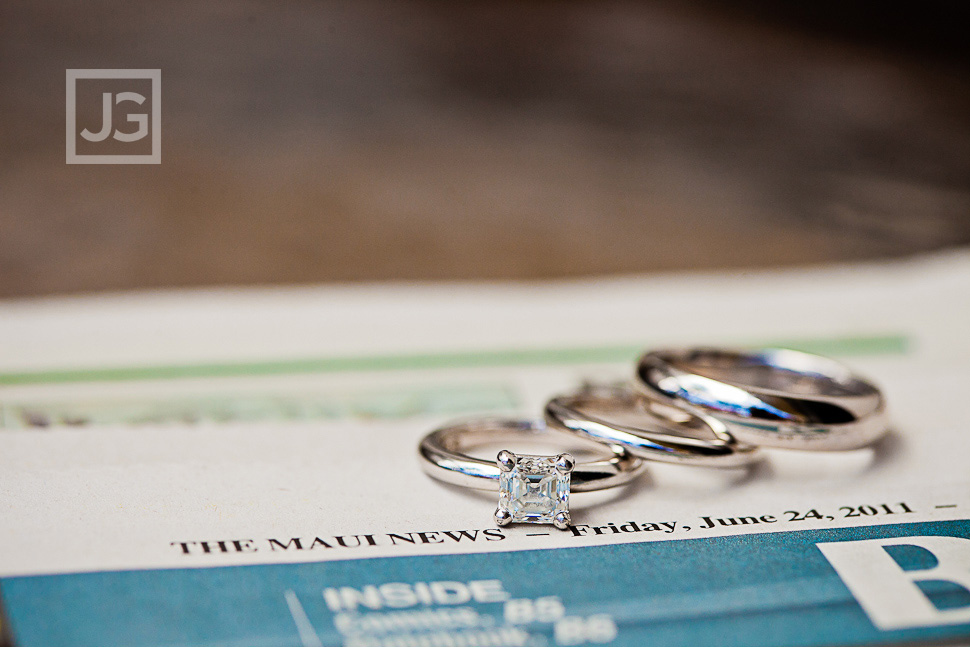
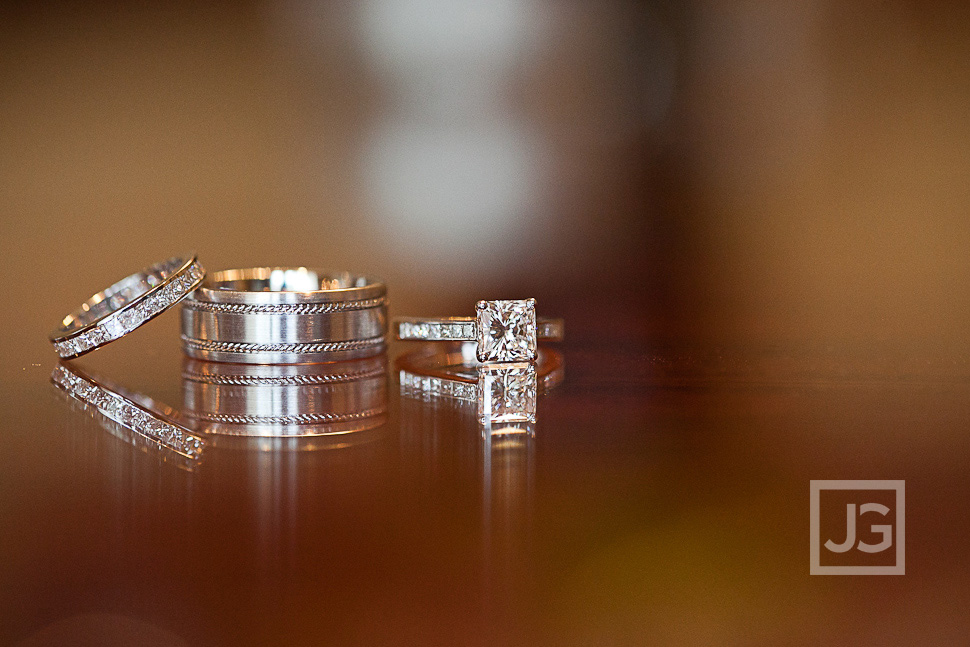
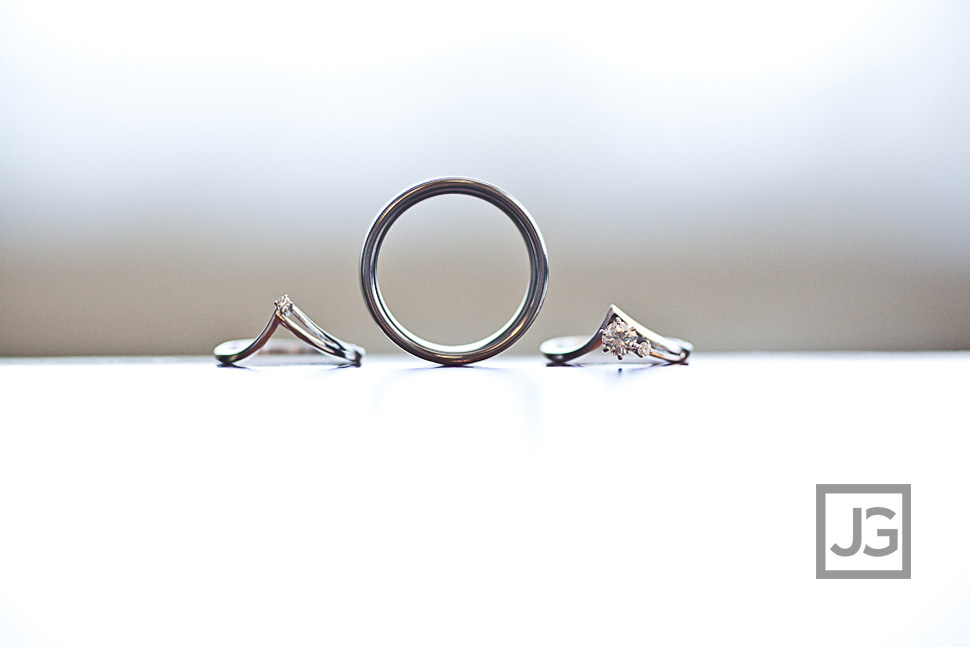
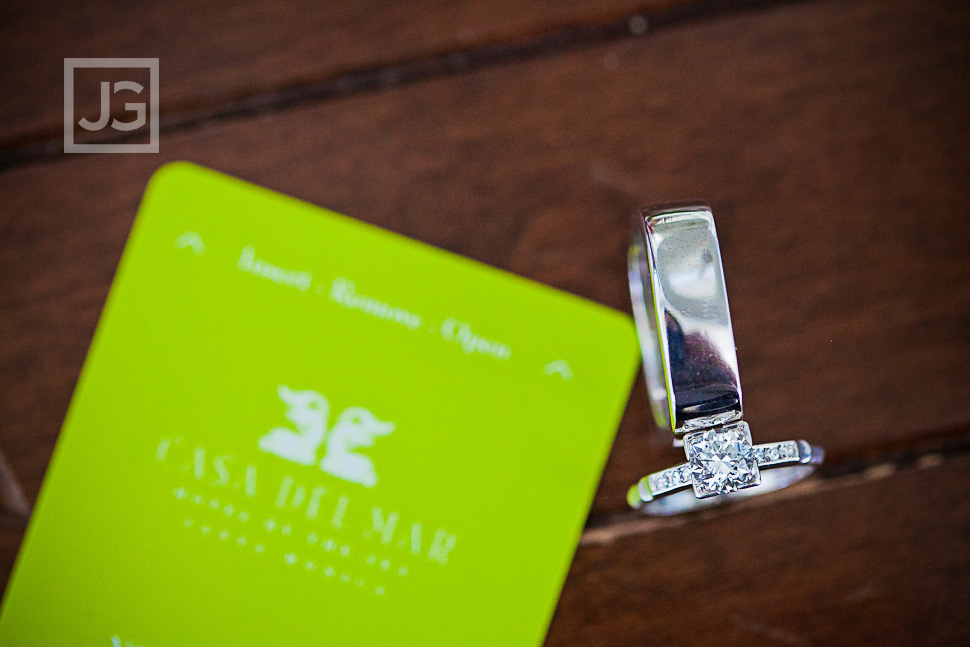
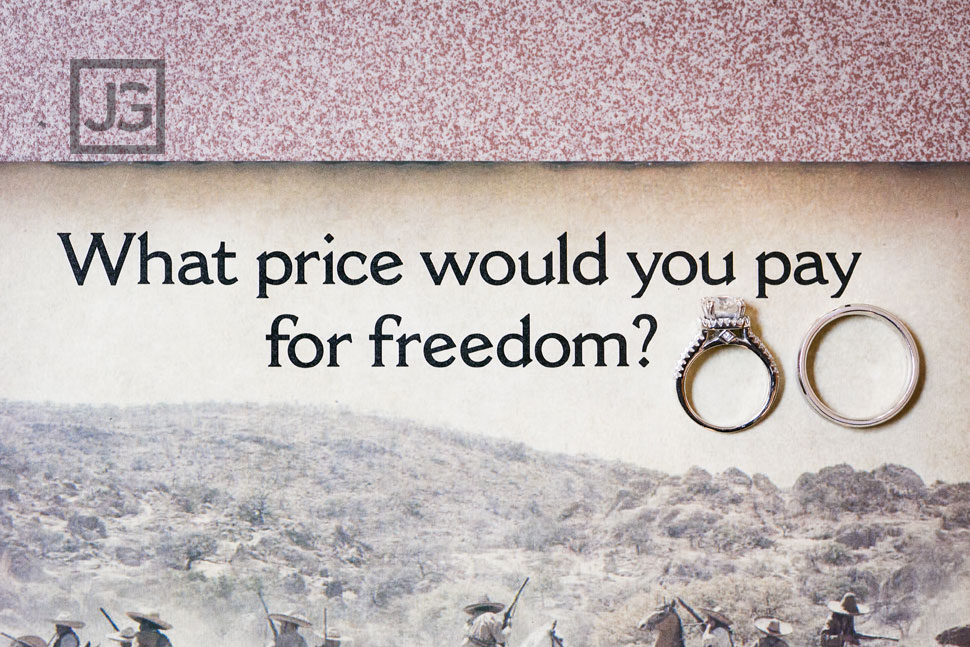
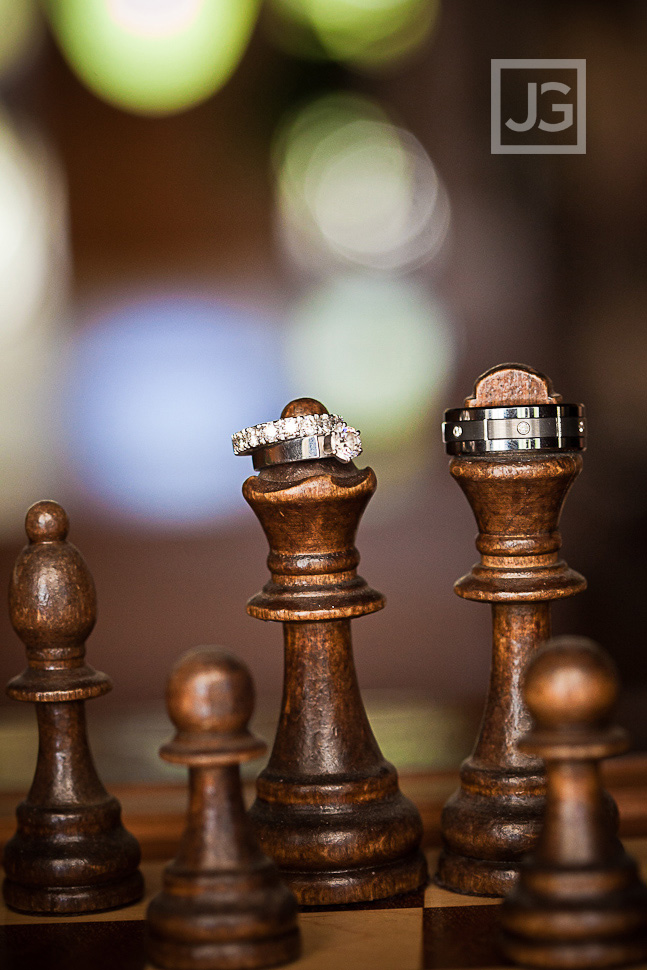
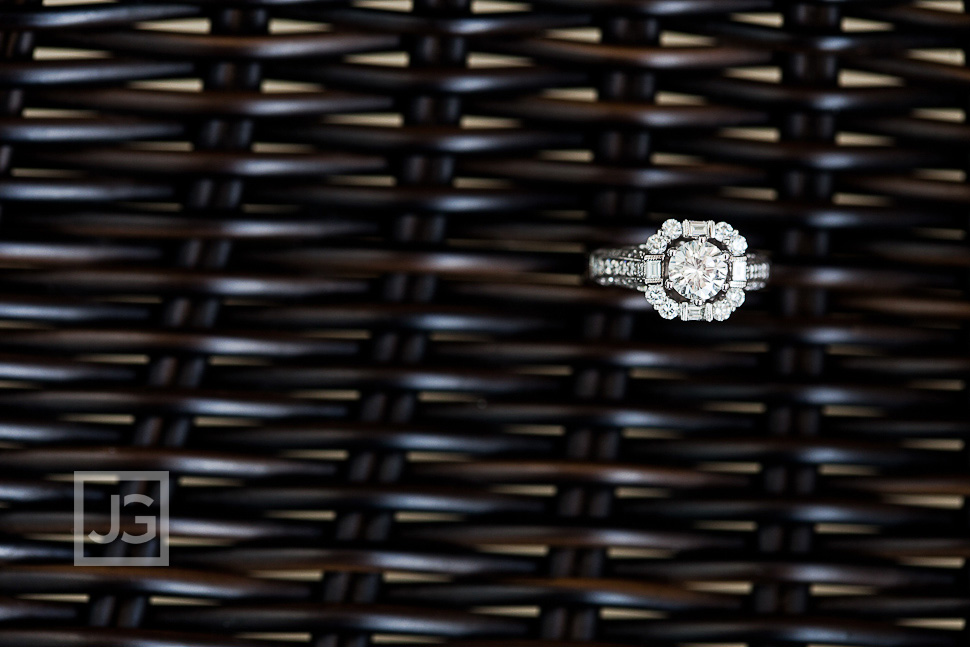
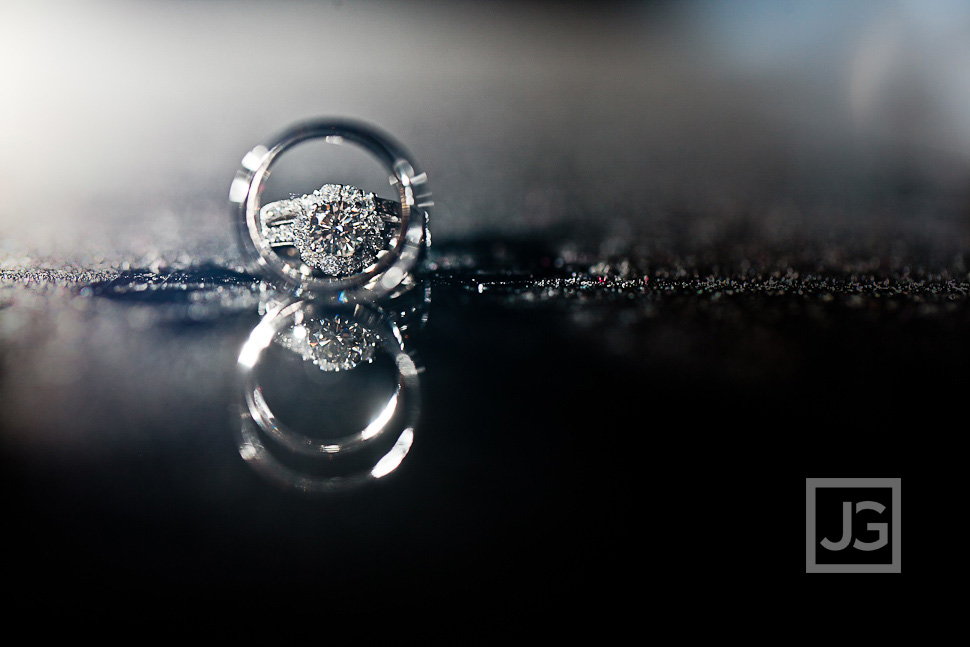
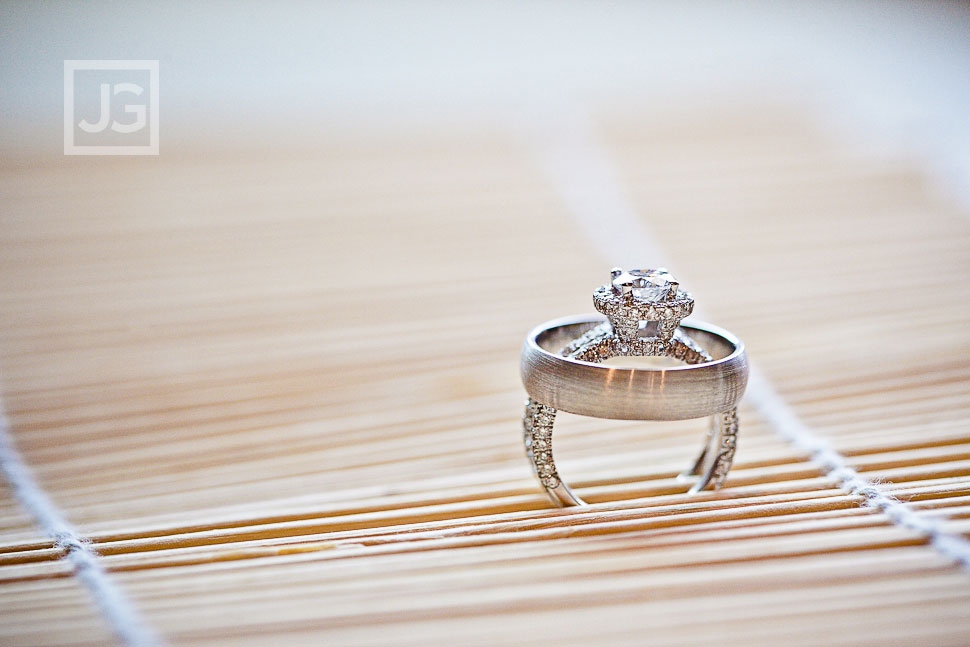
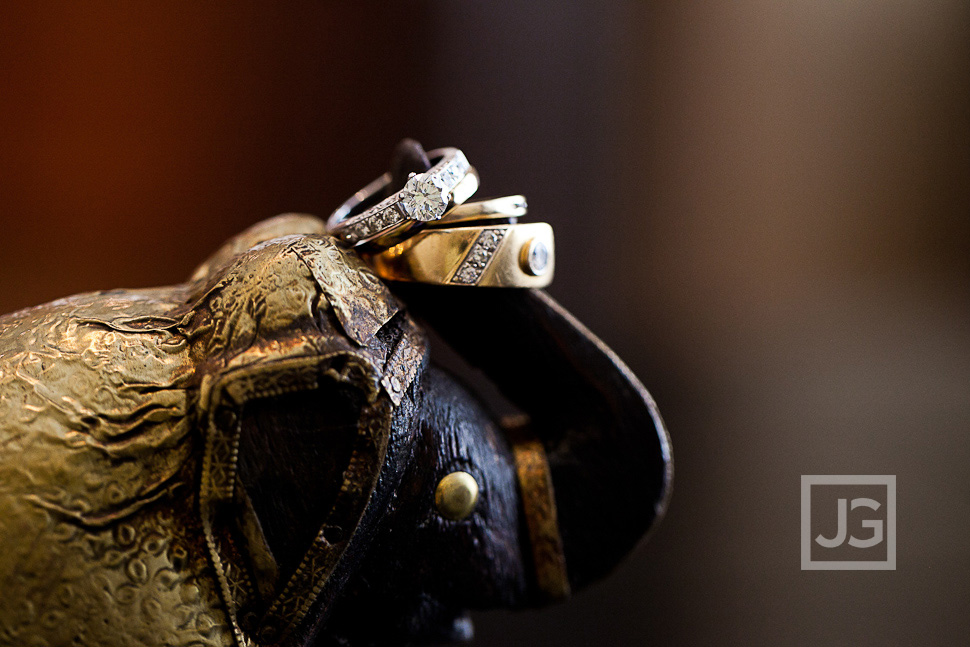
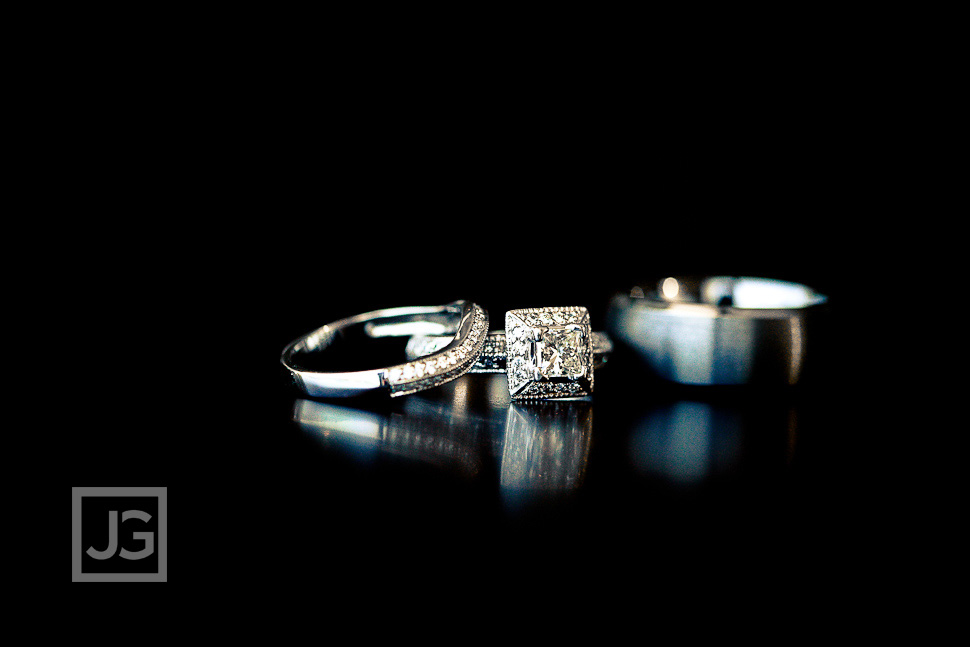
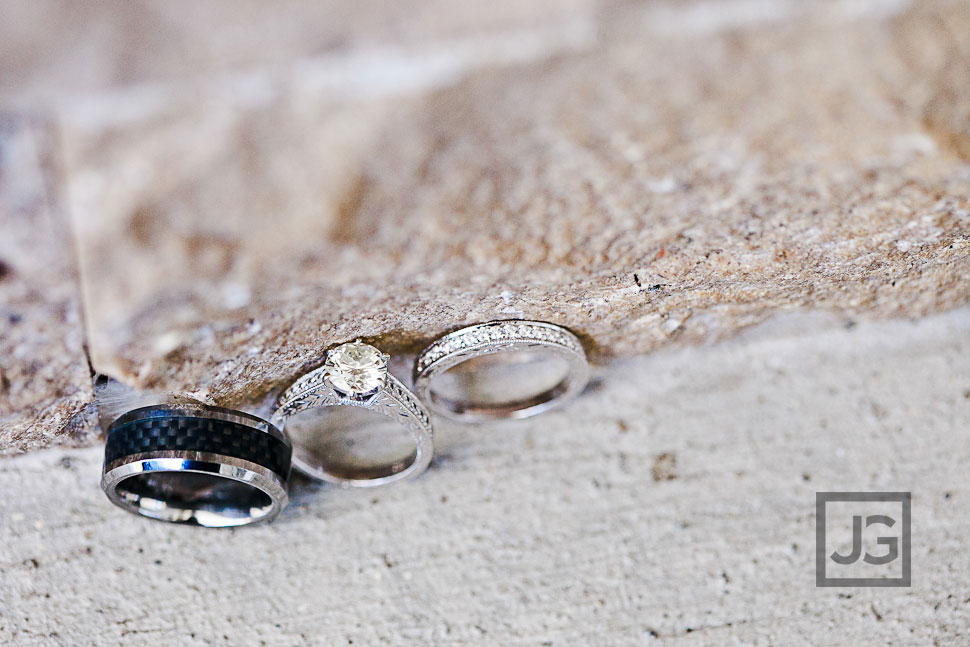
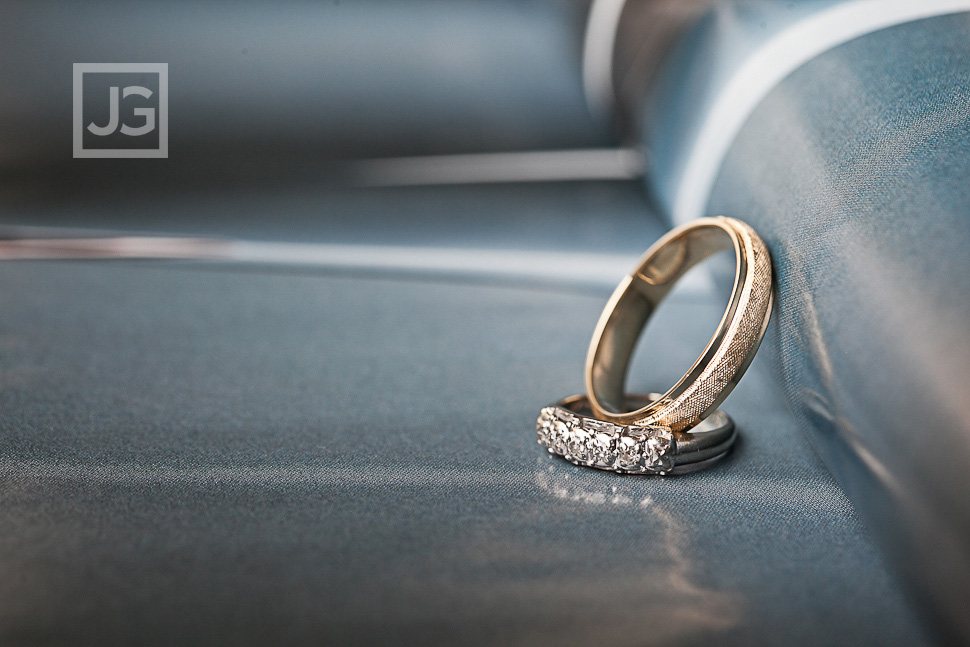
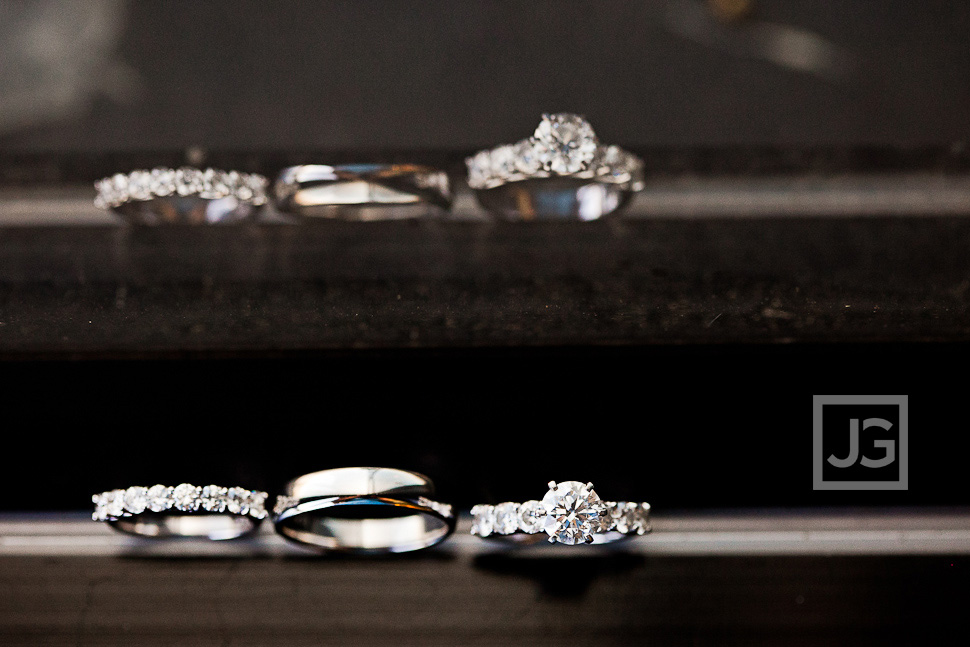
I hope you find this article helpful in picking out the perfect engagement ring!! Here’s a collection of engagement rings and wedding bands that we’ve photographed from our own brides & grooms. Hopefully this can give you some ideas in choosing the perfect ring setting and style!! Enjoy…
Resources:
http://www.bluenile.com
![[JG] Wedding Photography Blog](https://www.judytran.com/wp-content/uploads/JG-newlogo.jpg)
